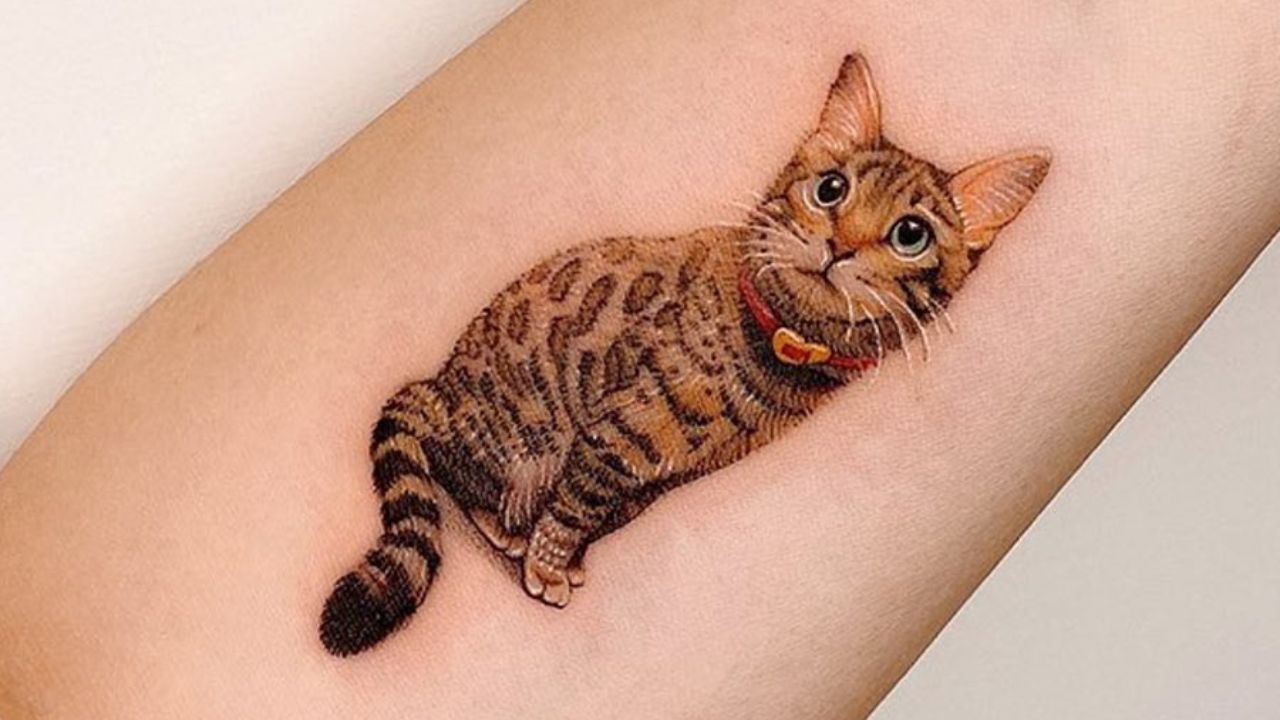

If you want to study body art without permanently altering your skin, a temporary tattoo is the way to go. You can make a temporary tattoo with just a few household supplies and items from the craft store.
1. CREATING A STENCIL TATTOO
- Make a stencil. Simple, bold shapes are the most elementary ones to design with this method. Try diamonds, circles, and other geometric patterns. You can prepare a stencil based on an existing image.
- Buy permanent markers. Pick one or more marker colours to use with the stencil. Black is a classic alternative and maybe the most suitable to help your tattoo pass as a genuine one. Using another colour can be just like a sport. Permanent markers carry chemicals that aren’t meant to be applied to the skin. Watch for markers that are designated as safe for this kind of use.
- Apply the tattoo. Place the stencil on the part of your body where you require the tattoo to be. Use one hand to support it firmly against the skin to cut out patterns lying flat. Apply the other hand to colour in the forms with the markers you preferred. When you’re finished, lift the stencil off and provide the marker ink to dry.
- Remove the tattoo. When you’re perfected sporting your temporary tattoo, it can be washed off with warm, soapy water, or you dab a cotton pad in oil and ‘scrub’ your tattoo off.
2. CREATING AN EYELINER TATTOO
- Design the tattoo. Your eyeliner tattoo will view best with bold, simple strokes. More delicate lines and more complicated designs could be more likely to smudge and become unrecognizable. Stick with precise shapes.
- Pick out eyeliner. Jet black eyeliner makes for a fantastic temporary tattoo, but there’s no reason not to choose more than one colour. Try purple, emerald, and sapphire to conceive your design or add a slight accent. Avoid liquid eyeliner.
- Draw the plan on your skin with the eyeliner pencil. Take your time and make sure the formatting is applied precisely how you desire it to look. If you don’t want it, you can wash it off and begin again. Apply a cotton swab to mix colours and design shading.
- Spray the design with hairspray. The same chemicals that assist your hair in place turn as a sealant for the tattoo to keep it from getting off for a few hours. There’s no need to soak it thoroughly; give the space a light application. You can also apply a clear nail polish/top coat instead of hairspray. The clear nail polish/topcoat can be glossy or matte.
- Wash it off. This tattoo will continue about a day before it starts to smudge. It rinses off easily with warm, soapy water. You may require to remove it before proceeding to bed to avoid making eyeliner on your sheets. If you’re applying clear nail polish instead of hairspray, you can peel it off or remove it with nail polish remover.
3. CREATING A SHARPIE TATTOO
- Buy any colour Sharpie.
- Get hairspray and baby powder.
- Draw the tattoo over your body. Use whatever pattern you like and put it wherever you wish, but it should be easily reachable.
- Brush the tattoo with baby powder.
- Use the hairspray lightly over the tattoo. Don’t apply too much, or the skin will feel very dry. If you spray too much by chance, take a cotton swab and pat the area near the tattoo with water.
4. MAKING A PAPER TATTOO
- Buy water slide paper. These temporary tattoos are calligraphed onto water slide paper, a distinctive paper lined with adhesive on one surface. The tattoo design is marked with ink on the glue. Water slide paper is available in craft stores or online.
- Design the tattoo. There is no limit when you’re applying water slide paper; any shape, colour or pattern will print elegantly onto the paper and expose up clearly on your skin. Apply Photoshop or a similar computer program meant for devising images to come up with a tattoo design. Choose colours that will show up well against your skin.
- Print the tattoo. Serve the water slide paper into the paper handler in the printer. Ensure the paper is placed perfectly so that the picture will be printed onto the adhesive, not the matte paper. Carve out the tattoo with a set of scissors when you’re done.
- Apply the tattoo. Put the tattoo ink-side down on the skin. Envelop it with a damp paper or a towel. Press down on the cloth or paper towel and keep it in place for 30 seconds or till it becomes translucent. Lift the cloth or paper towel and strip back the paper. The dampening method causes the adhesive to “slide” from the paper to the skin.
- Remove the tattoo. This kind of tattoo may serve a week or more before it starts to strip off. If you need to remove it before it gets off on its own, wash it off with soapy water and a scrub brush.
Enjoy your new tattoo. The tattoo should last around a month.